

One of the questions I get asked the most is, “What software do you use to make things for 3D printing?” The short answer is: it depends on what I’m making.
In this article, I’ll walk through the programs I use to create objects for 3D printing, the devices I work on, and the file formats I typically export before sending everything to my slicer. This isn’t a “one-size-fits-all” list — it’s a look at what works for me and why.
A Quick Disclaimer (and Why That’s a Good Thing)
First, I want to be clear: I’m not an expert in 3D printing or 3D modeling. I’ve been printing for almost two years, and I still feel like I’m learning something new all the time. These posts aren’t meant to be authoritative guides — they’re meant to help people who are just getting started and to show that the learning curve is actually pretty manageable once you dive in.
If you have zero interest in creating your own models and just want to print things other people have already designed, that’s totally fine. Check out the Resources page on this site for a list of great places to download ready-to-print files.
And if you have thoughts, suggestions, or favorite tools of your own, drop them in the comments. I’ll keep updating this article as we all learn and grow together.
The Right Tool for the Job
Let’s get this out of the way early:
Try not to use a drill to pound in a nail.
There are a lot of 3D programs out there, and no single one is perfect for everything. The type of object you’re creating should heavily influence the software you choose.
The main things I design and print fall into three categories:
- Art toys and characters (organic shapes)
- Playset items (weapons, vehicles, accessories)
- Household items (organizers, functional parts)
Each of these requires a slightly different approach — and often a different tool.
Organic Modeling: Characters & Art Toys
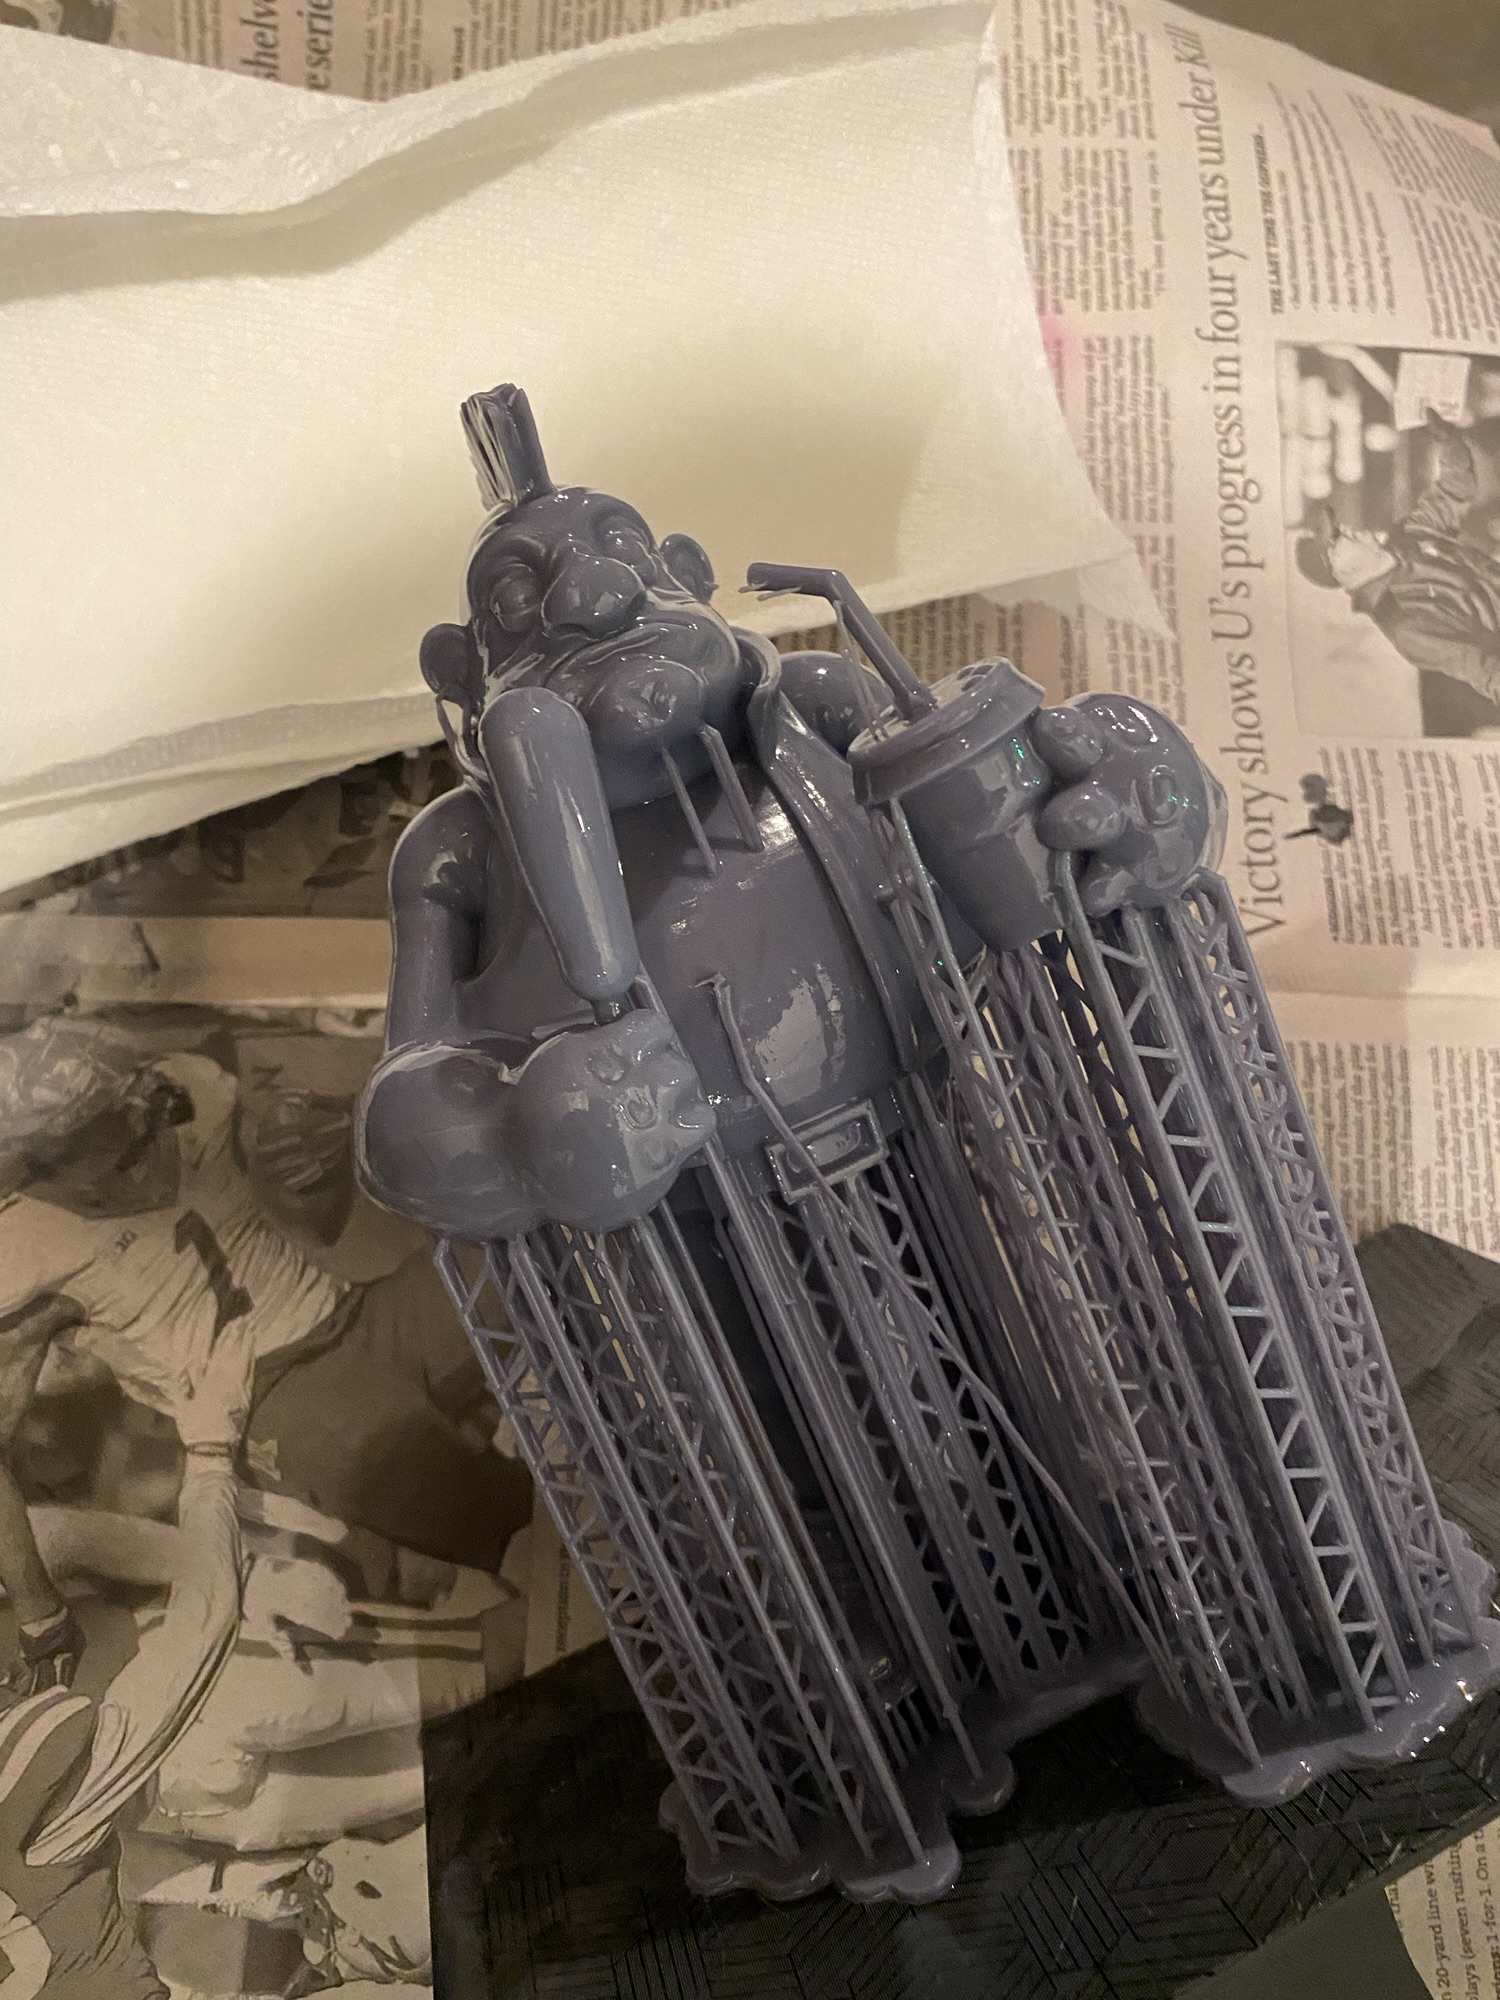
For organic shapes like characters and art toys (especially things I plan to print on a resin printer), my go-to program is Nomad Sculpt.
Nomad Sculpt
Device: iPad Pro (3rd gen, 12.9”, 256GB)
Input: 2nd-generation Apple Pencil
Export Formats: STL, OBJ
Nomad Sculpt is a powerful yet approachable sculpting app, and being able to work directly on the iPad makes the creative process feel fast and intuitive. For most character work, it handles everything I need extremely well.
That said, file management is important. Nomad can slow down if files get too large, so I keep an eye on resolution and mesh density. If I know a sculpt is going to get heavy or complex, I’ll move the project to my laptop.
The export features provide the proper file formats for slicers to prepare your models for 3D printing.

ZBrush & Blender
Device: MacBook Pro
Export Formats: STL, OBJ
If I’m worried about file size or need more advanced sculpting tools, I switch to:
- ZBrush — incredibly powerful, but expensive
- Blender — extremely capable and much more wallet-friendly
ZBrush is still the industry standard for high-detail sculpting, but Blender has come a long way and is more than enough for most hobbyists. If you’re just starting out and don’t want to spend money upfront, Blender is a fantastic choice.
Hard-Surface & Precise Objects (CAD)
When I’m creating objects that need exact measurements, clean edges, or tight tolerances — like organizers or mechanical-style parts — sculpting tools aren’t the best option. That’s when I switch to CAD software.
Fusion (Autodesk Fusion)
Device: MacBook Pro
Export Formats: STL, STEP
My current go-to CAD program is Fusion by Autodesk. It’s great for designing functional parts and anything that needs to fit together precisely. There’s definitely a learning curve, but once it clicks, it’s incredibly powerful.

Other CAD Tools Worth Checking Out
I haven’t used all of these extensively, but they’re worth mentioning:
- Tinkercad – Very beginner-friendly
- SketchUp – Popular and intuitive
- SolidWorks – Industry-grade (and pricey)
On the iPad side, I’ve had great success with Shapr3D, which feels like a perfect bridge between CAD precision and touch-based modeling.
What’s Next?
This article is just the foundation. In the next section (and future posts), I’ll break down:
- My Top 10 programs in more detail
- When I switch between sculpting and CAD
- How I prep files for slicers like Cura, PrusaSlicer, and Bambu Studio
- Common beginner mistakes (that I definitely made)
If you’re just getting started, remember: you don’t need to learn everything at once. Pick a tool, start small, and build from there.
And as always — if you have a favorite program or workflow, share it in the comments.
At Cords Creative Creations, I’m all about sharing the creative process as it really is. Stick around if you want to learn, tinker, and build cool stuff along the way.
Happy printing!
A quick heads-up: this post includes affiliate links. If you choose to buy something through one of them, I may earn a small commission at no extra cost to you. It helps me keep creating and sharing here at Cords Creative Creations — thank you for the su


Leave a Reply