
So you’ve finally picked out your 3D printer, unboxed it, and you’re more than ready to hit Print — but then reality sets in. What 3D printing tools do you actually need to have on hand to make the process smooth, safe, and (most importantly) enjoyable?
Having the right tools from the start makes a huge difference. They help streamline your workflow, keep things cleaner, and make post-processing far less frustrating. In this post, I’ll walk through the basic tools you’ll want for resin printing, explain what each one is used for, and where it fits into the overall process.
This isn’t meant to be a “buy everything at once” list — think of it as a practical guide to help you get up and running with confidence.
Resin Printing Essentials
Resin printing has a bit more setup and cleanup involved than FDM printing, but once you have a solid workflow, it becomes second nature.
Let’s break things down step by step.
Tools You’ll Want Before You Start Printing
Before your first print even begins, having these items ready will save you time, mess, and stress.
Resin
This one sounds obvious, but it’s worth slowing down here. Not all resin is created equal, and the “best” resin really depends on what you’re printing.
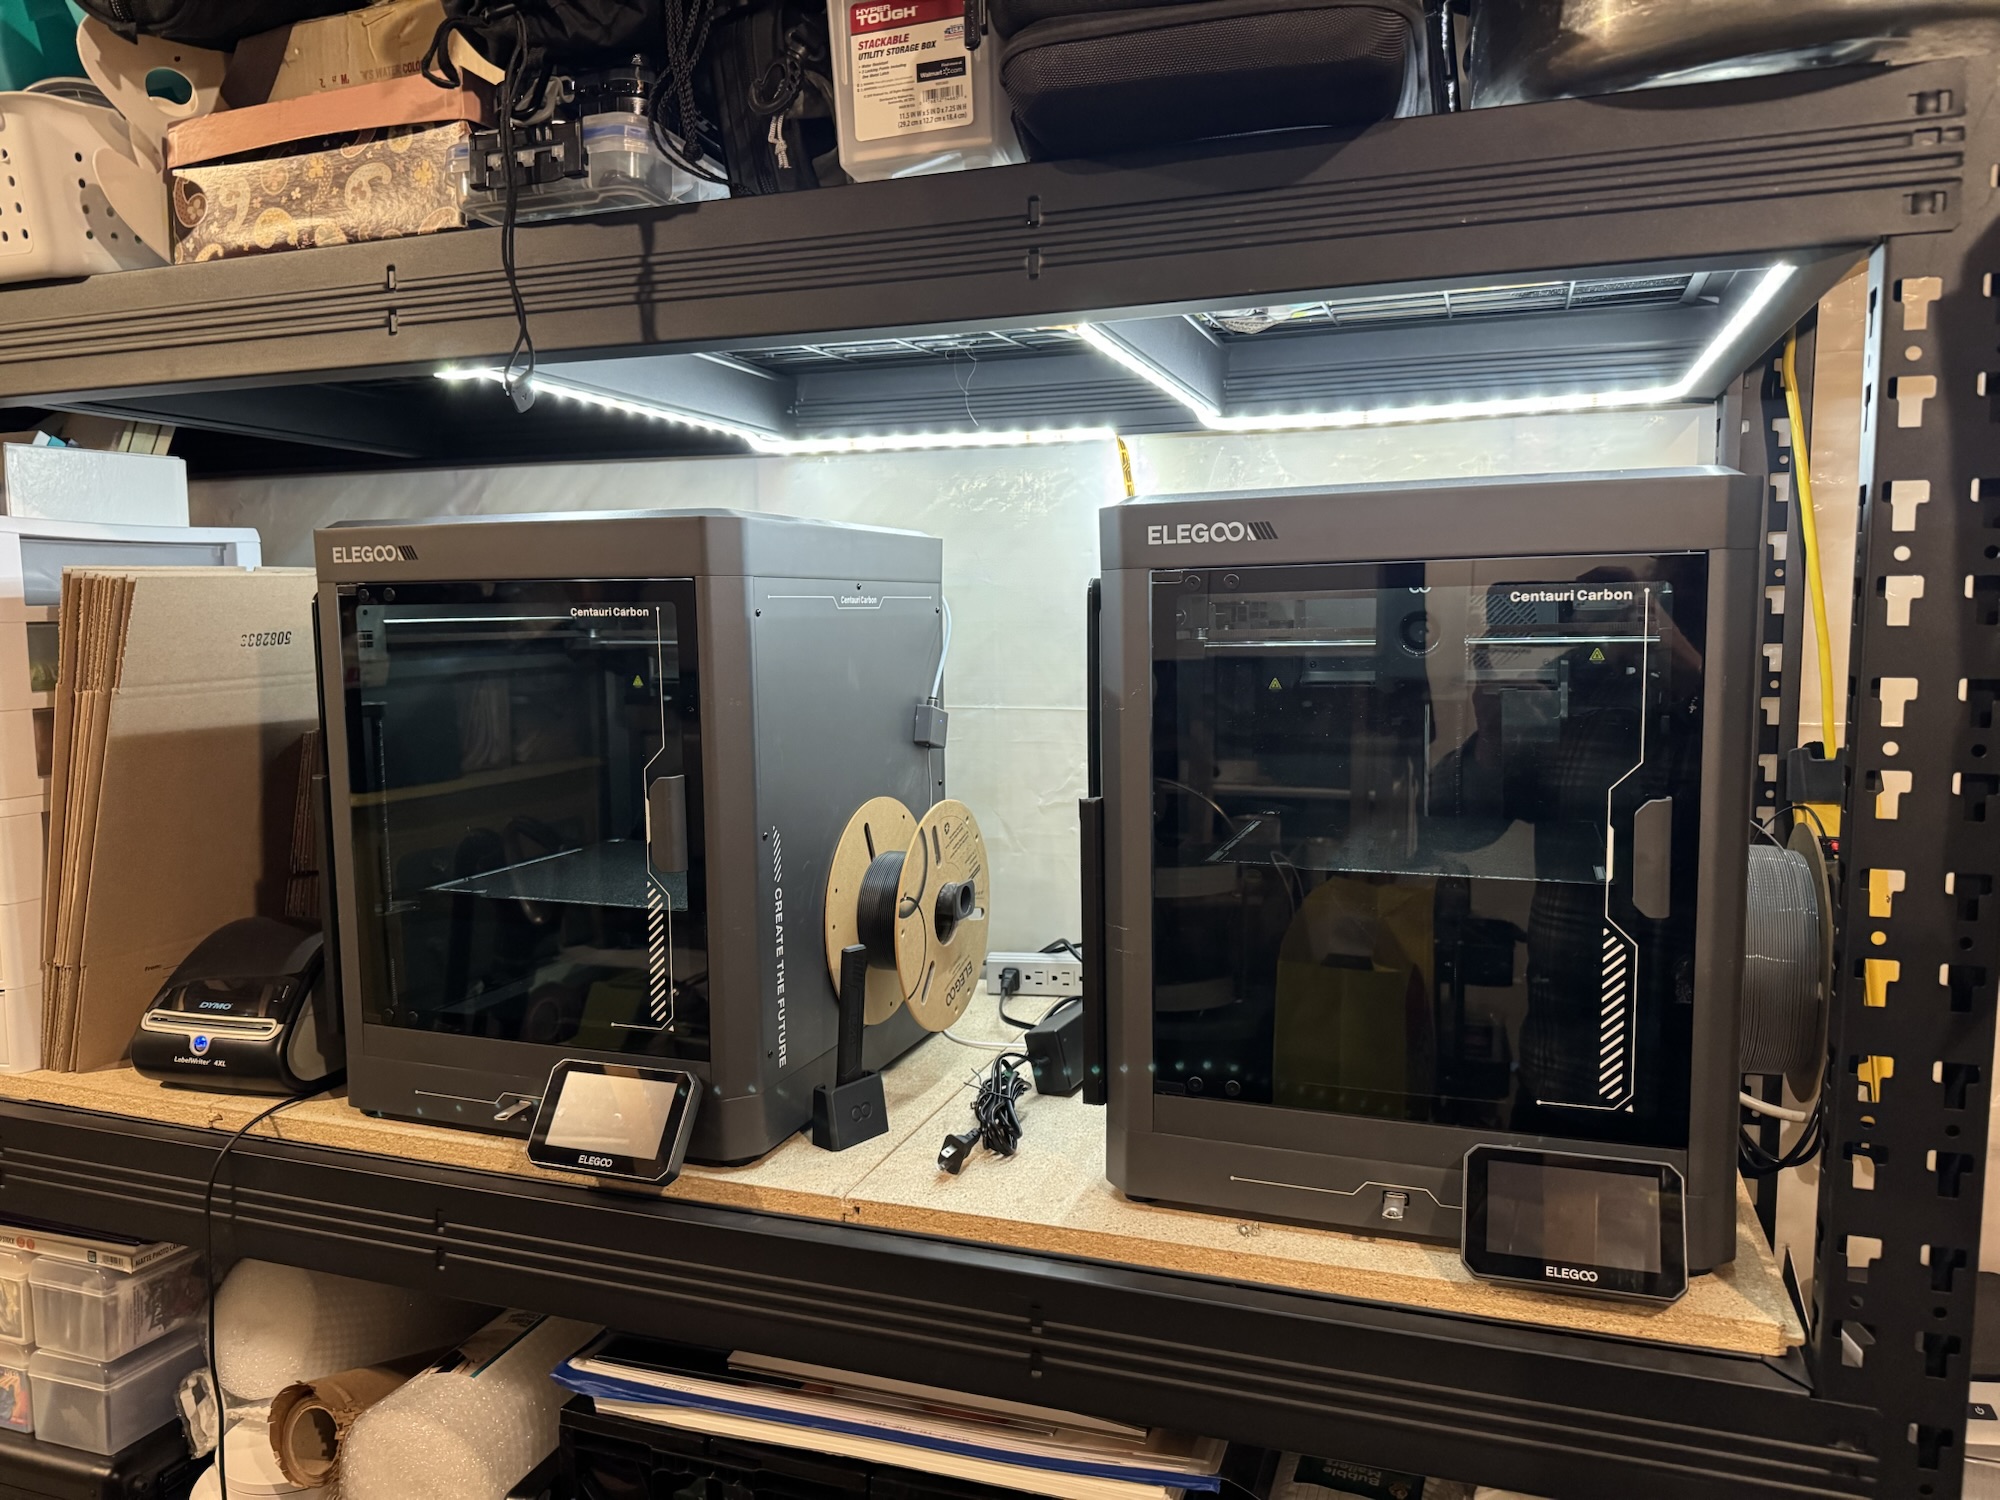
Do a little research and look for people printing similar objects to yours. For example, I primarily print custom art toys on my Elegoo Saturn 3 Ultra, and I’ve had great results with:
These are especially helpful when printing parts with thin or delicate details that need a bit more durability.

99% Isopropyl Alcohol (IPA)
IPA is essential for cleaning resin prints after they come off the printer. I also keep a spray bottle filled with IPA nearby to clean tools, surfaces, and the occasional spill (because spills will happen).
Pro tip: Buy more IPA than you think you need.
Funnel with Built-In Strainer
If you ever need to change resins or pour unused resin back into the bottle, a funnel with a strainer is a must. It helps catch cured bits or debris and keeps your resin usable longer.
Plastic Spatula
A plastic spatula is great for gently cleaning your resin vat and stirring resin. More importantly, it reduces the risk of damaging the FEP film (the clear film at the bottom of the vat), which is something you definitely want to avoid.
Nitrile Gloves
Resin is messy and not skin-friendly, so gloves are non-negotiable. Grab a box of disposable nitrile gloves and keep them within arm’s reach whenever you’re working with resin.
Nice-to-Have: Resin Recycling Station
This isn’t required, but it’s a great upgrade once you start printing more often. A resin recycling or filtering station helps you reclaim unused resin cleanly and safely, keeping waste (and mess) to a minimum.
Tools You’ll Need After Printing Is Complete
Once your print finishes, the real work begins: removal, cleaning, and curing. Having these tools ready makes post-processing much easier.
Nitrile Gloves (Again)
You’ll go through gloves quickly during post-processing, so don’t be shy about swapping them out when they get messy.
Silicone Mat
A silicone mat is a lifesaver. It protects your work surface, makes cleanup easier, and catches drips before they become a bigger problem.
Metal Spatula
A metal spatula helps remove prints from the build plate. Just be careful — go slow and steady to avoid damaging the print or yourself.
Plastic Spatula
This is useful for less stubborn prints and for general cleanup without risking scratches or damage.
Wash & Curing Station
A wash station filled with 99% IPA (or another approved resin cleaner) is one of the best quality-of-life upgrades you can make. It ensures your prints are properly cleaned and saves you from awkward manual washing.
I keep two wash buckets on hand: one for an initial wash using my most-used IPA, and a second filled with cleaner IPA for a final rinse. I also use soft sponges during the process to help remove any remaining resin from the print before curing.
After washing, prints need to be cured with UV light to fully harden. A curing station makes this step consistent and easy, and it really helps bring out the final strength and finish of your prints.
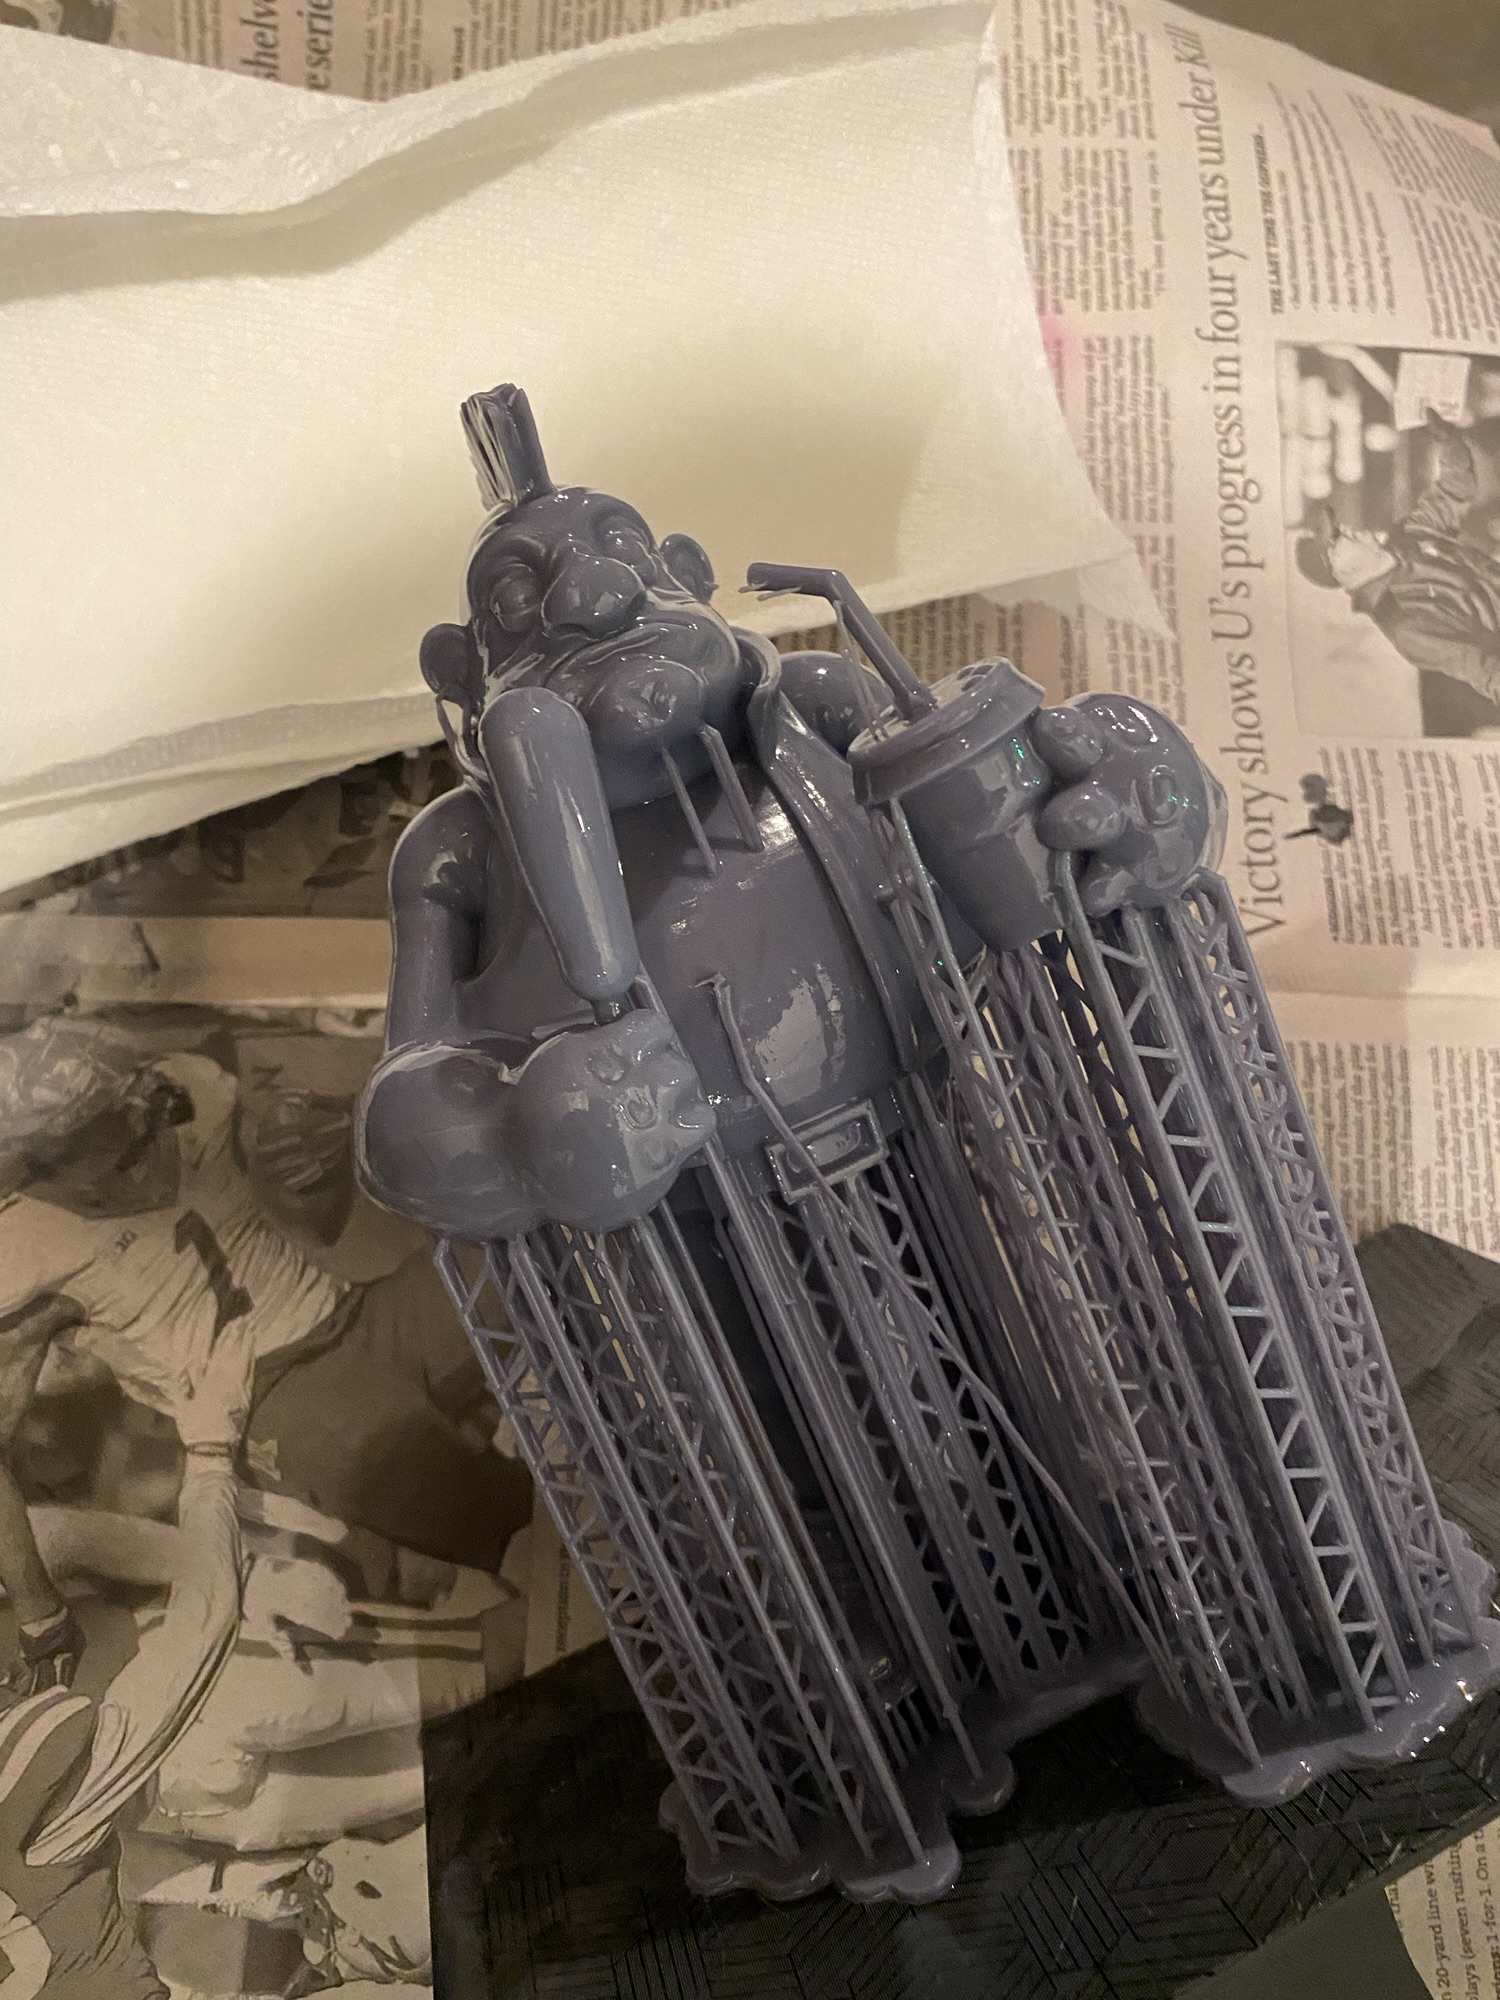
Finishing Your 3D Prints (Where the Magic Happens)
Once your print is cleaned and cured, it’s technically “done” — but if you want it to look really good, finishing is where the magic happens. This is the stage where you remove supports, clean up rough edges, smooth surfaces, and prep the print for paint or display.
Finishing doesn’t have to be complicated, and you don’t need a ton of tools to get great results. A small, well-chosen set will take you a long way.
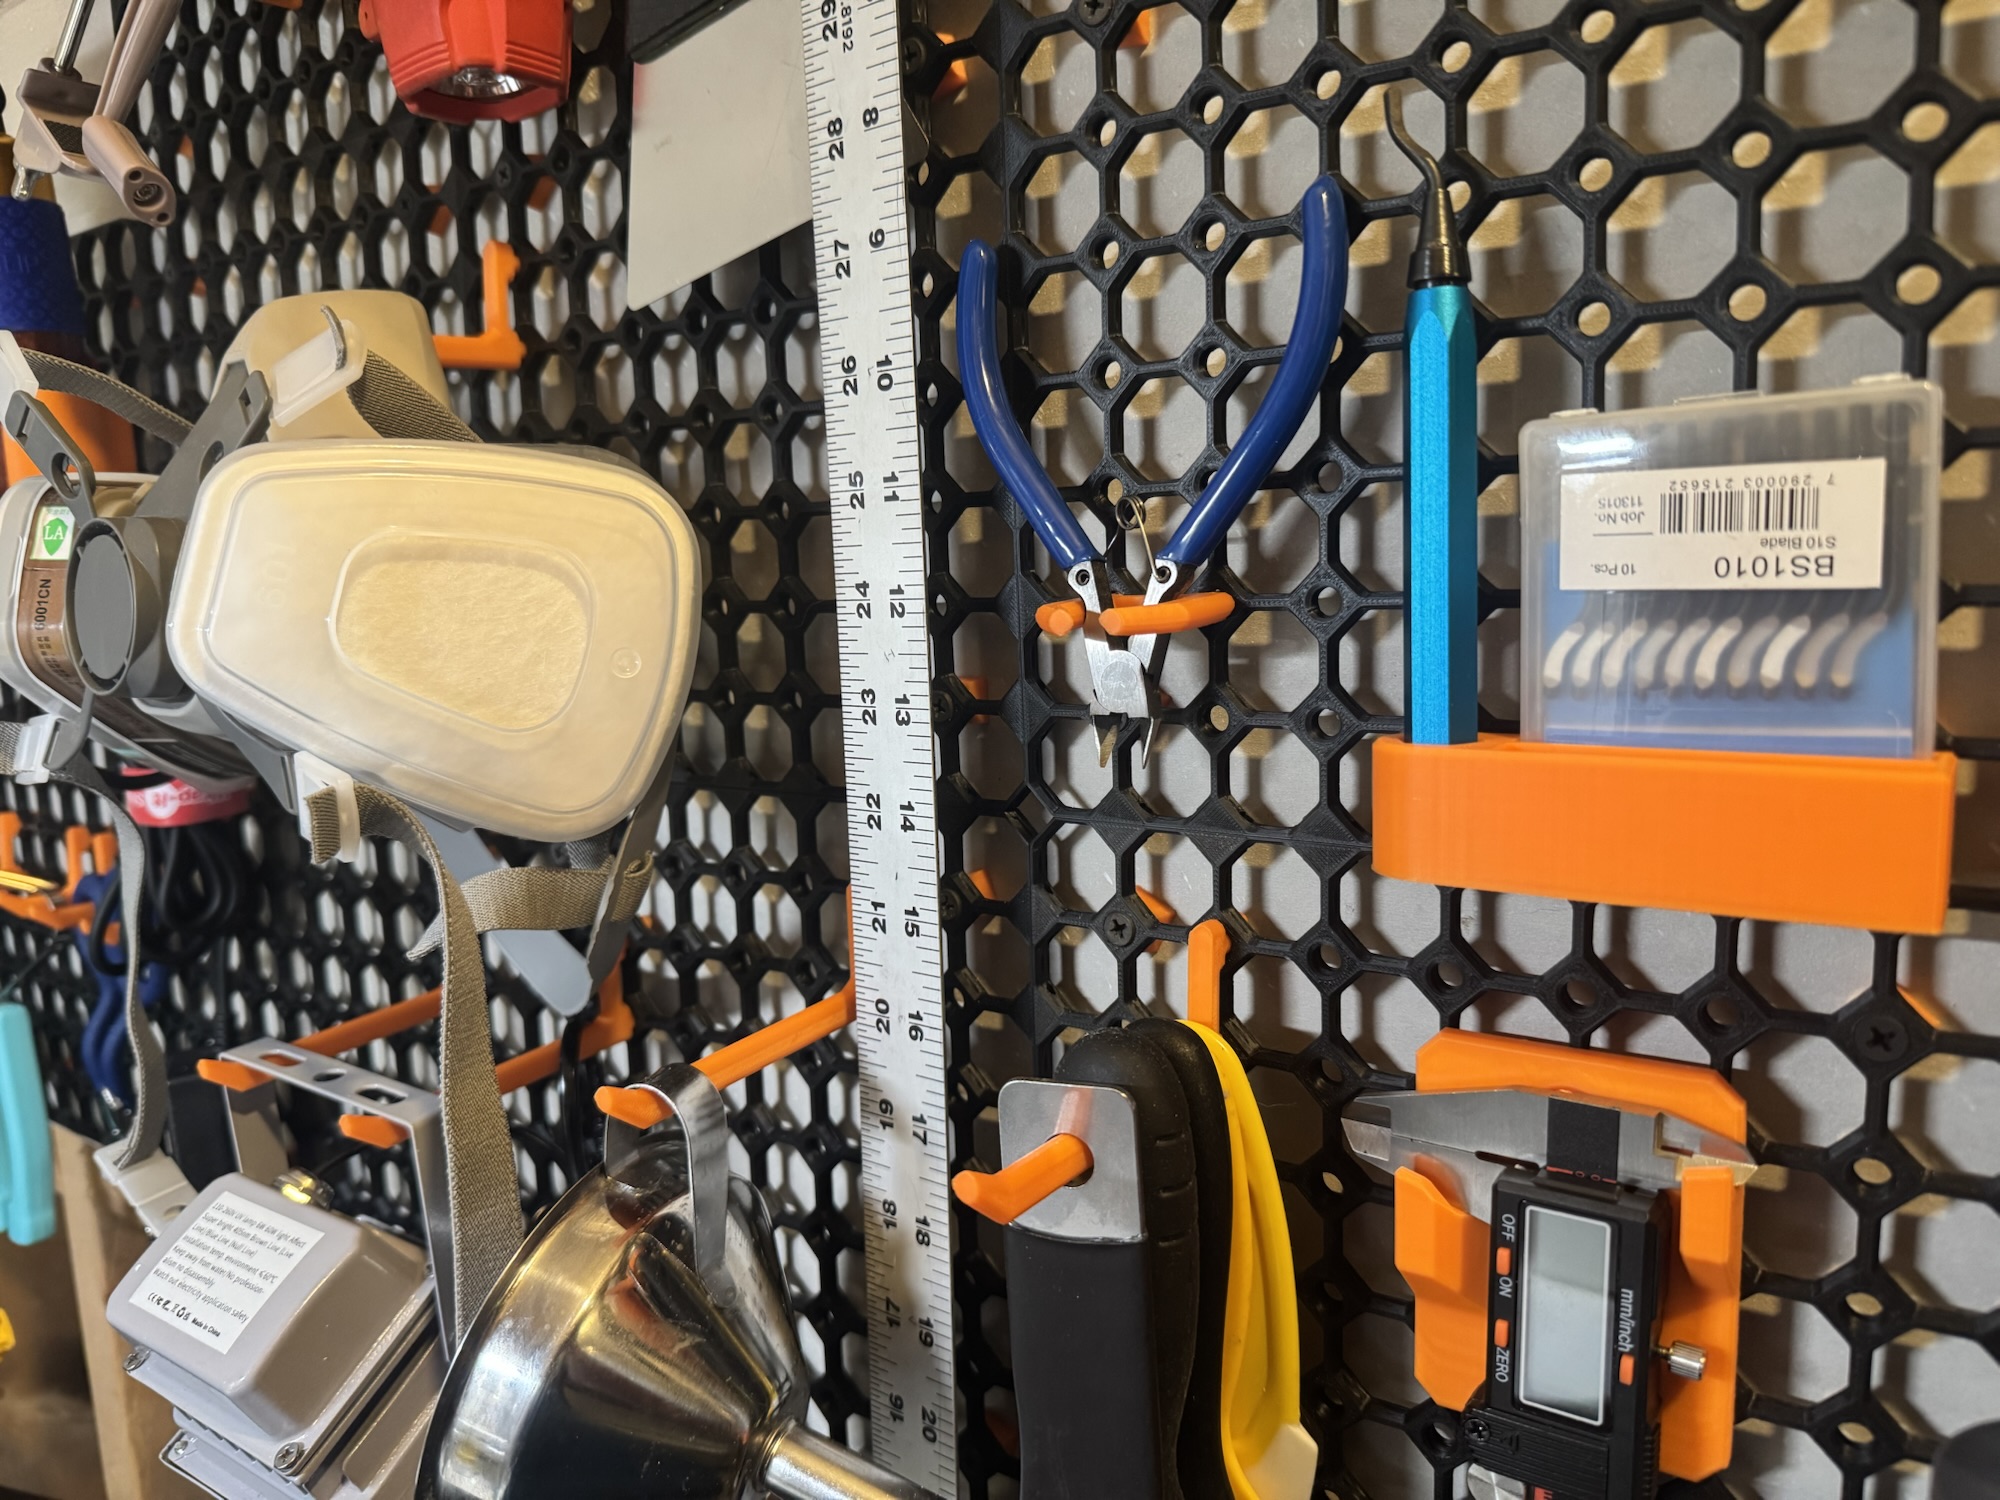
Essential Finishing Tools
Deburring Tool
A deburring tool is one of the most underrated tools in 3D printing. It’s perfect for cleaning up sharp edges, small bumps, and leftover material after support removal.
- Great for edges, holes, and seams
- Especially useful on FDM prints
- Quick, controlled cleanup without over-sanding
Once you use one, you’ll wonder how you ever lived without it.
Sanding Tools
Sanding is the key to smoother surfaces and better-looking prints. It’s also one of those things that gets easier the more you do it.
Sandpaper (Wet & Dry):
- Start with lower grits (around 120–220) for rough cleanup
- Move to higher grits (400–800+) for smoothing
- Wet sanding helps reduce dust and produces a cleaner finish
Sanding Sponges:
- Great for curved surfaces
- More forgiving than flat sandpaper
- Perfect for organic shapes and resin prints
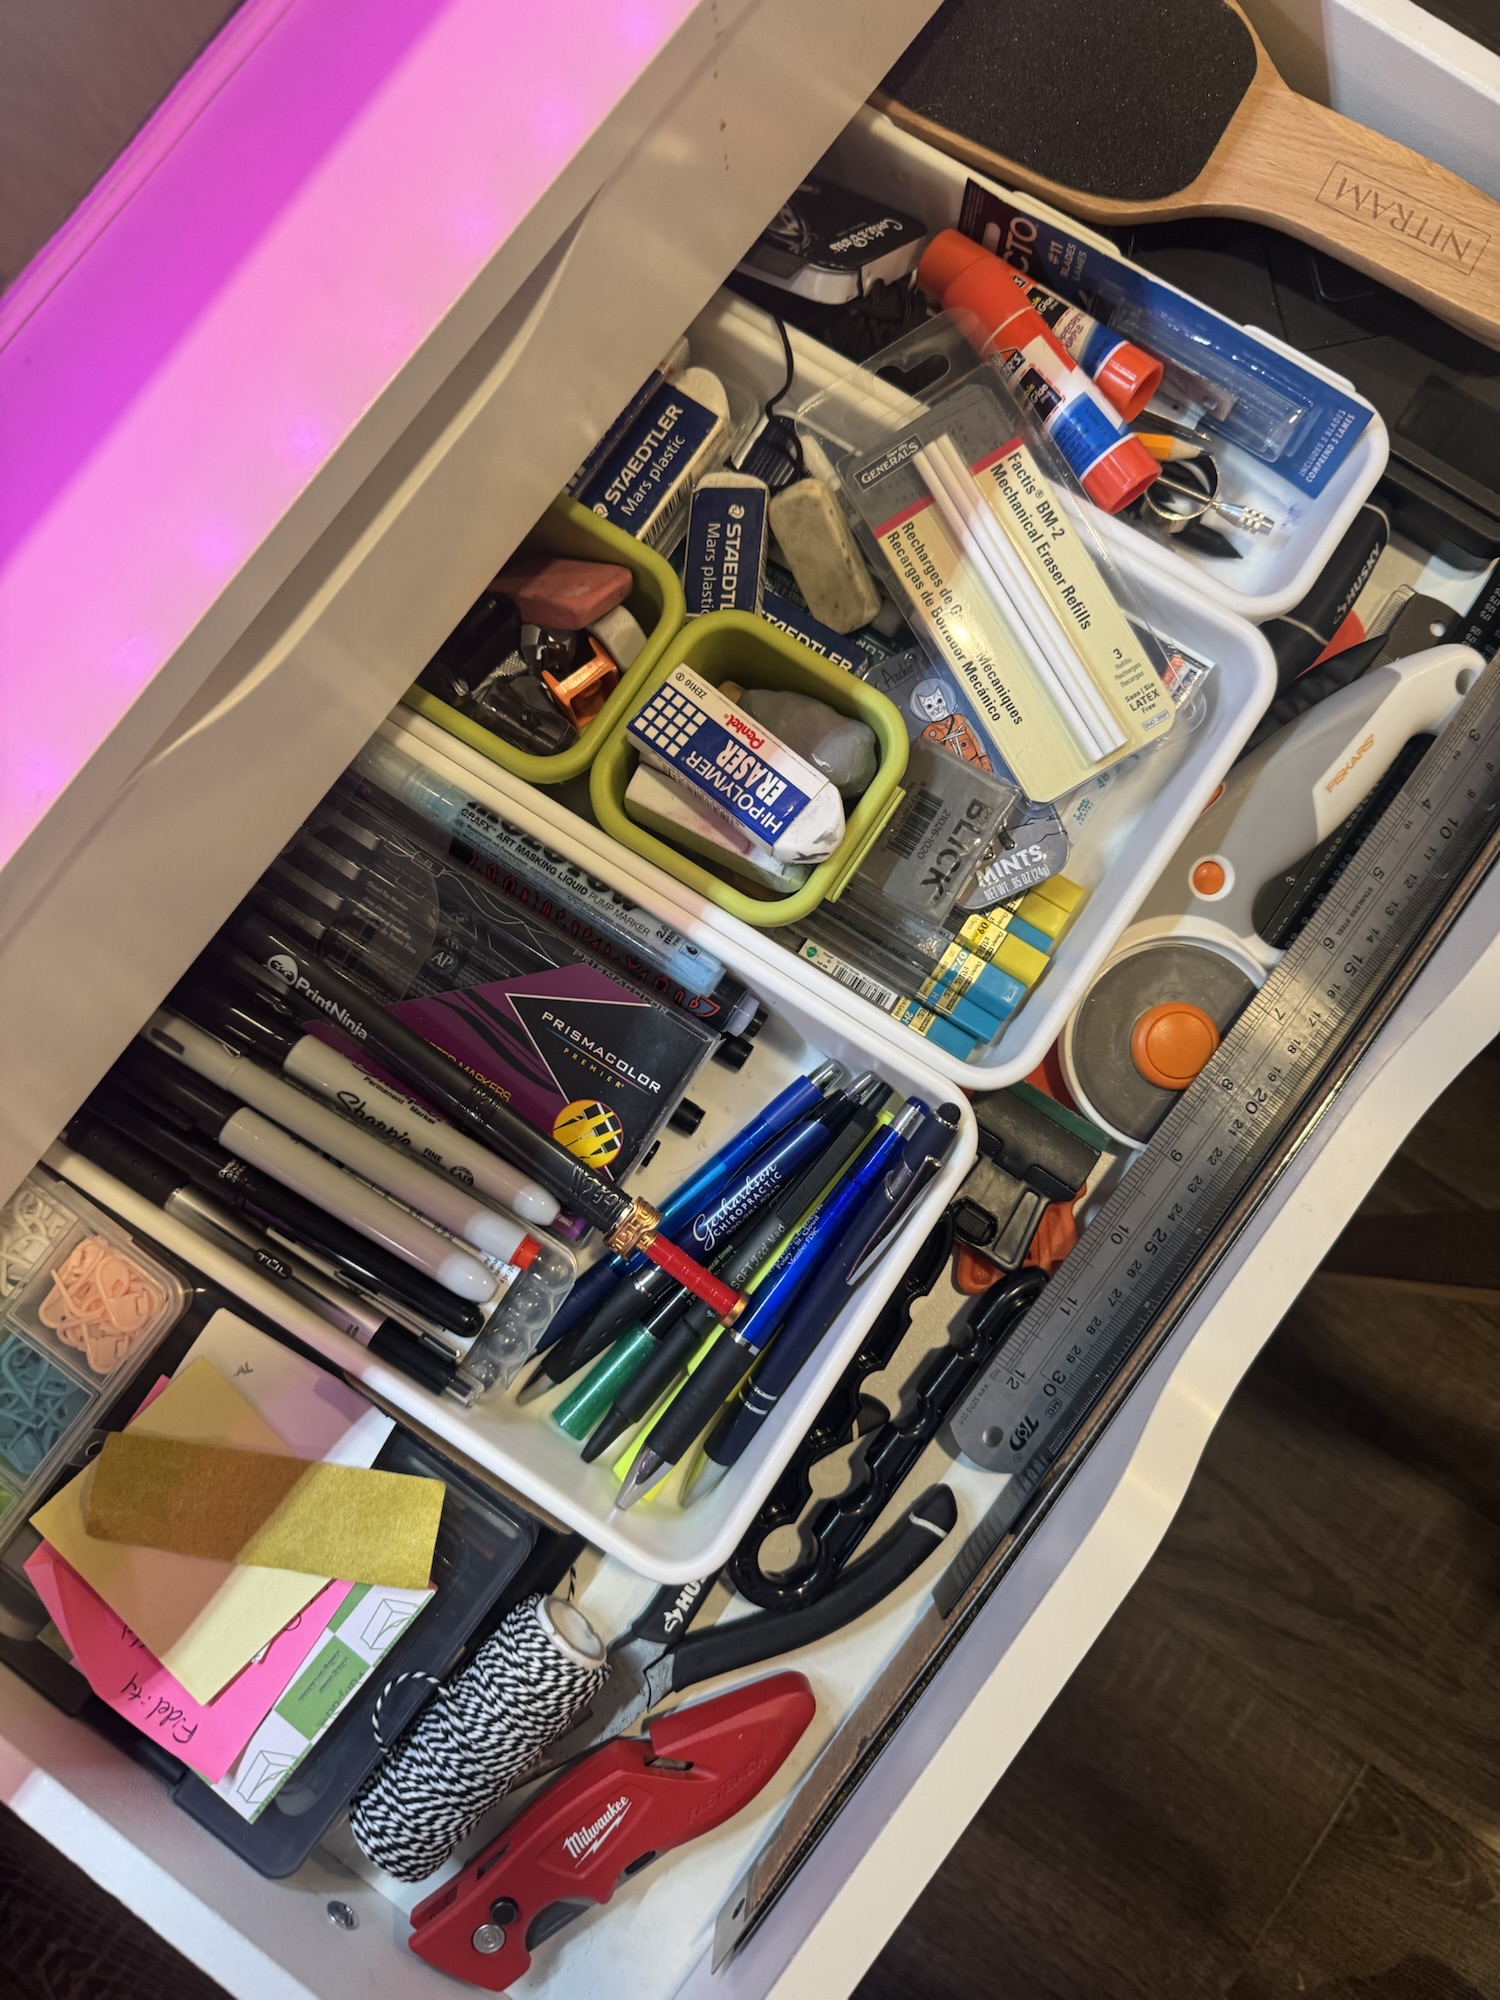
Hobby Knife / Precision Knife
A sharp hobby knife is ideal for:
- Trimming leftover supports
- Cleaning tight corners
- Removing small imperfections
Go slow and use light pressure — sharp blades do the work for you.
Files (Optional but Handy)
Small needle files are useful for:
- Hard-to-reach areas
- Tight angles
- Fine control when sanding isn’t ideal
They’re especially helpful for functional prints and mechanical parts.
All-in-one kits
If you are looking for a prepackaged kit that gets you started, check out this 124-piece 3D printing tool kit that has all the essentials and more!
Pro Tips for Better Finishing Results
- Take your time: Rushing usually leads to over-sanding or damaged details
- Work in stages: Clean → smooth → refine
- Test first: Try techniques on a failed print before using them on a good one
- Wear protection: Sanding creates dust — especially resin dust — so wear a mask when needed
Finishing makes the difference
Finishing is where a good print becomes a great one. Even basic cleanup can dramatically improve how a print looks and feels, and the skills you build here carry over into painting, assembling, and displaying your work.
You don’t need to master everything at once. Start simple, build your tool kit over time, and enjoy the process. Every print is another chance to learn something new.
Final Thoughts
Resin printing can seem intimidating at first, but having the right tools makes a world of difference. Once you build a routine and your workspace is set up, the process becomes smoother, cleaner, and honestly pretty satisfying.
You don’t need everything on this list on day one — start with the essentials and add tools as your experience grows. Over time, you’ll naturally dial in a workflow that works best for you.
If you have 3D printing tools you swear by or questions about resin setups, feel free to share them in the comments. I’m always learning, and I’ll continue updating this post as I refine my own process.
For additional 3D printing resources checkout this page.
At Cords Creative Creations, I’m all about sharing the creative process as it really is. Stick around if you want to learn, tinker, and build cool stuff along the way.
Happy printing!
A quick heads-up: this post includes affiliate links. If you choose to buy something through one of them, I may earn a small commission at no extra cost to you. It helps me keep creating and sharing here at Cords Creative Creations — thank you for the support!


Leave a Reply